

» Guide to Mercedes Benz GLB 35 Auto-Bildschirm Installation
Installing an Android screen in your Mercedes Benz GLB 35 can significantly enhance your driving experience by providing access to advanced navigation, multimedia, and connectivity features. In this comprehensive guide, we will walk you through the process of installing a Koason Android screen, ensuring a seamless integration with your vehicle’s existing systems.
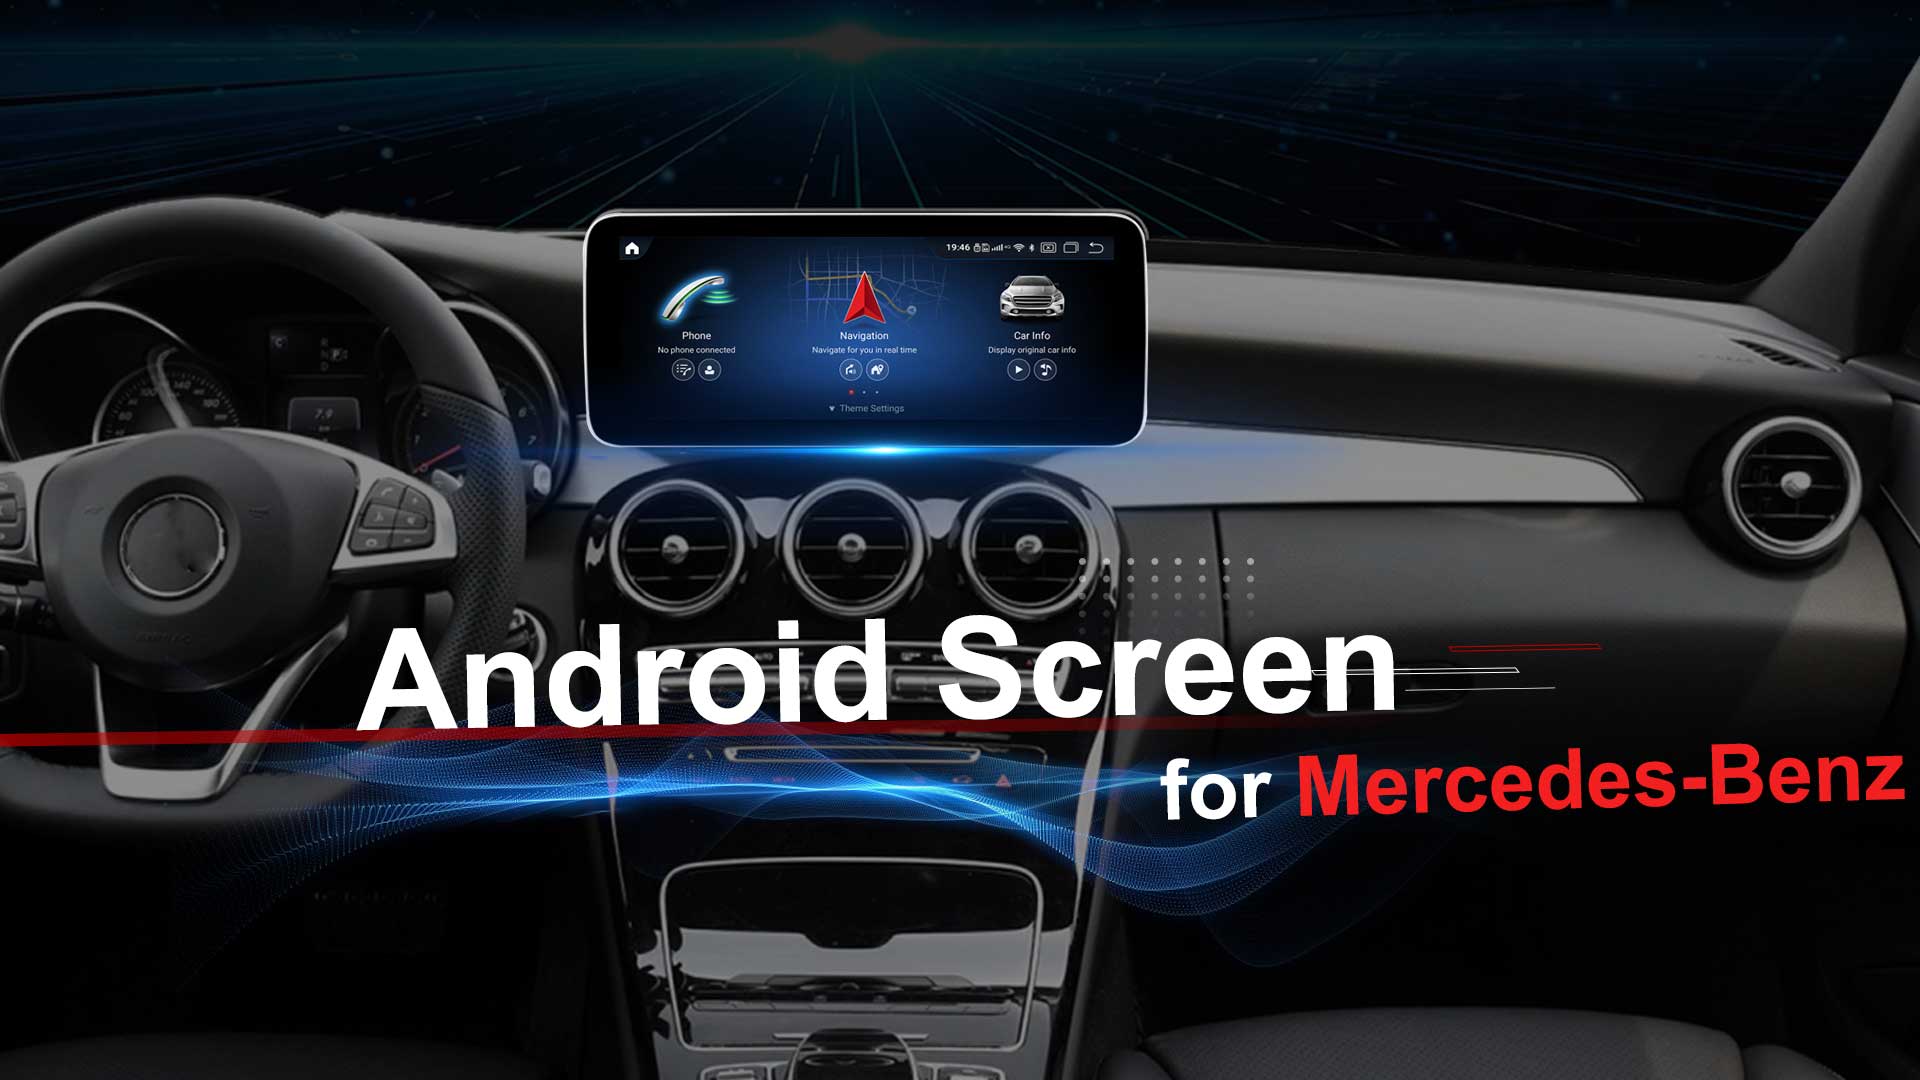
Introduction to Koason Android Screens
Koason is a reputable manufacturer known for producing high-quality Android screens designed specifically for various car models, including the Mercedes Benz GLB 35. Their products are engineered to offer a perfect fit and integrate smoothly with your car’s existing functionalities, providing an upgraded infotainment experience.
Why Choose Koason?
Koason screens are favored for their reliability, ease of installation, and compatibility with a wide range of car models. They offer features such as:
- High-resolution touchscreens
- Seamless integration with factory systems
- Access to Android apps and services
- Advanced navigation capabilities
- Enhanced multimedia options
Preparation for Installation
Before beginning the installation process, it is crucial to gather all necessary tools and materials. This ensures a smooth and efficient installation process, minimizing the risk of damage to your vehicle or the new equipment.
Tools and Materials Needed
- Koason Android screen kit
- Trim removal tools
- Screwdrivers (Phillips and flathead)
- Wire connectors and electrical tape
- Cable ties
- User manual and installation guide
Ensure that you have a clean and organized workspace, and that your vehicle is parked on a level surface with the ignition turned off.
Step-by-Step Installation Guide
Step 1: Remove the Existing Screen
To begin, carefully remove the trim surrounding the existing screen using the trim removal tools. This will expose the screws securing the screen in place.
Next, use a screwdriver to remove these screws. Gently pull the screen away from the dashboard, disconnecting any attached cables. Set the old screen aside safely.
Step 2: Prepare the Koason Android Screen
Unbox the Koason Android screen and familiarize yourself with its components. Refer to the user manual for specific details about the connectors and mounting brackets included in the kit.
Attach any necessary mounting brackets to the new screen, ensuring they are secured tightly to prevent movement during installation.
Step 3: Connect the Wiring Harness
The next step involves connecting the wiring harness from the Koason screen to your vehicle’s existing wiring. This is a critical step, as proper connections are essential for the screen to function correctly.
Consult the installation guide to match the wires correctly, using wire connectors to secure the connections. Wrap any exposed wires with electrical tape to prevent short circuits.
Step 4: Install the Koason Screen
Carefully position the Koason screen in the dashboard, aligning it with the mounting points. Secure it in place using the screws removed earlier.
Reattach the trim pieces around the screen, ensuring they snap back into place without any gaps or misalignments.
Step 5: Test the Installation
With the new screen installed, it’s time to test its functionality. Turn on the vehicle’s ignition and power up the screen. Verify that all features, including touch response, navigation, and multimedia functions, are working correctly.
If any issues arise, consult the troubleshooting section of the user manual or contact Koason’s customer support for assistance.
Post-Installation Tips
After successfully installing your Koason Android screen, there are a few additional steps you can take to ensure optimal performance and longevity:
- Regularly update the screen’s software to benefit from the latest features and improvements.
- Avoid exposing the screen to extreme temperatures, which can affect its performance.
- Use a microfiber cloth to clean the screen, preventing scratches and maintaining clarity.
Conclusion
Installing a Koason Android screen in your Mercedes Benz GLB 35 is a rewarding upgrade that enhances your vehicle’s infotainment capabilities. By following this detailed guide, you can achieve a professional installation, ensuring a seamless integration with your car’s existing systems.
Remember to take your time during the installation process, double-checking all connections and alignments. With patience and attention to detail, you can enjoy the benefits of a modern, feature-rich infotainment system in your vehicle.
We hope this guide has been helpful in your installation journey. For further assistance, don’t hesitate to reach out to Koason’s support team or consult additional resources online.